Introduction: The Beauty of Handcrafting—Experiencing the Art of Folding Fans
In today’s fast-paced modern life, crafting a one-of-a-kind folding fan by hand offers a relaxing way to immerse in creativity while embracing traditional culture. Whether as a parent-child activity, workshop project, or personal DIY endeavor, making a fan is a perfect way to experience Eastern artistry while embracing the philosophy of slow living.
Materials and Tools Needed for DIY Folding Fans
Materials List
- Fan frame materials: Bamboo strips, wooden slats (such as nanmu wood, peach wood, birch wood)
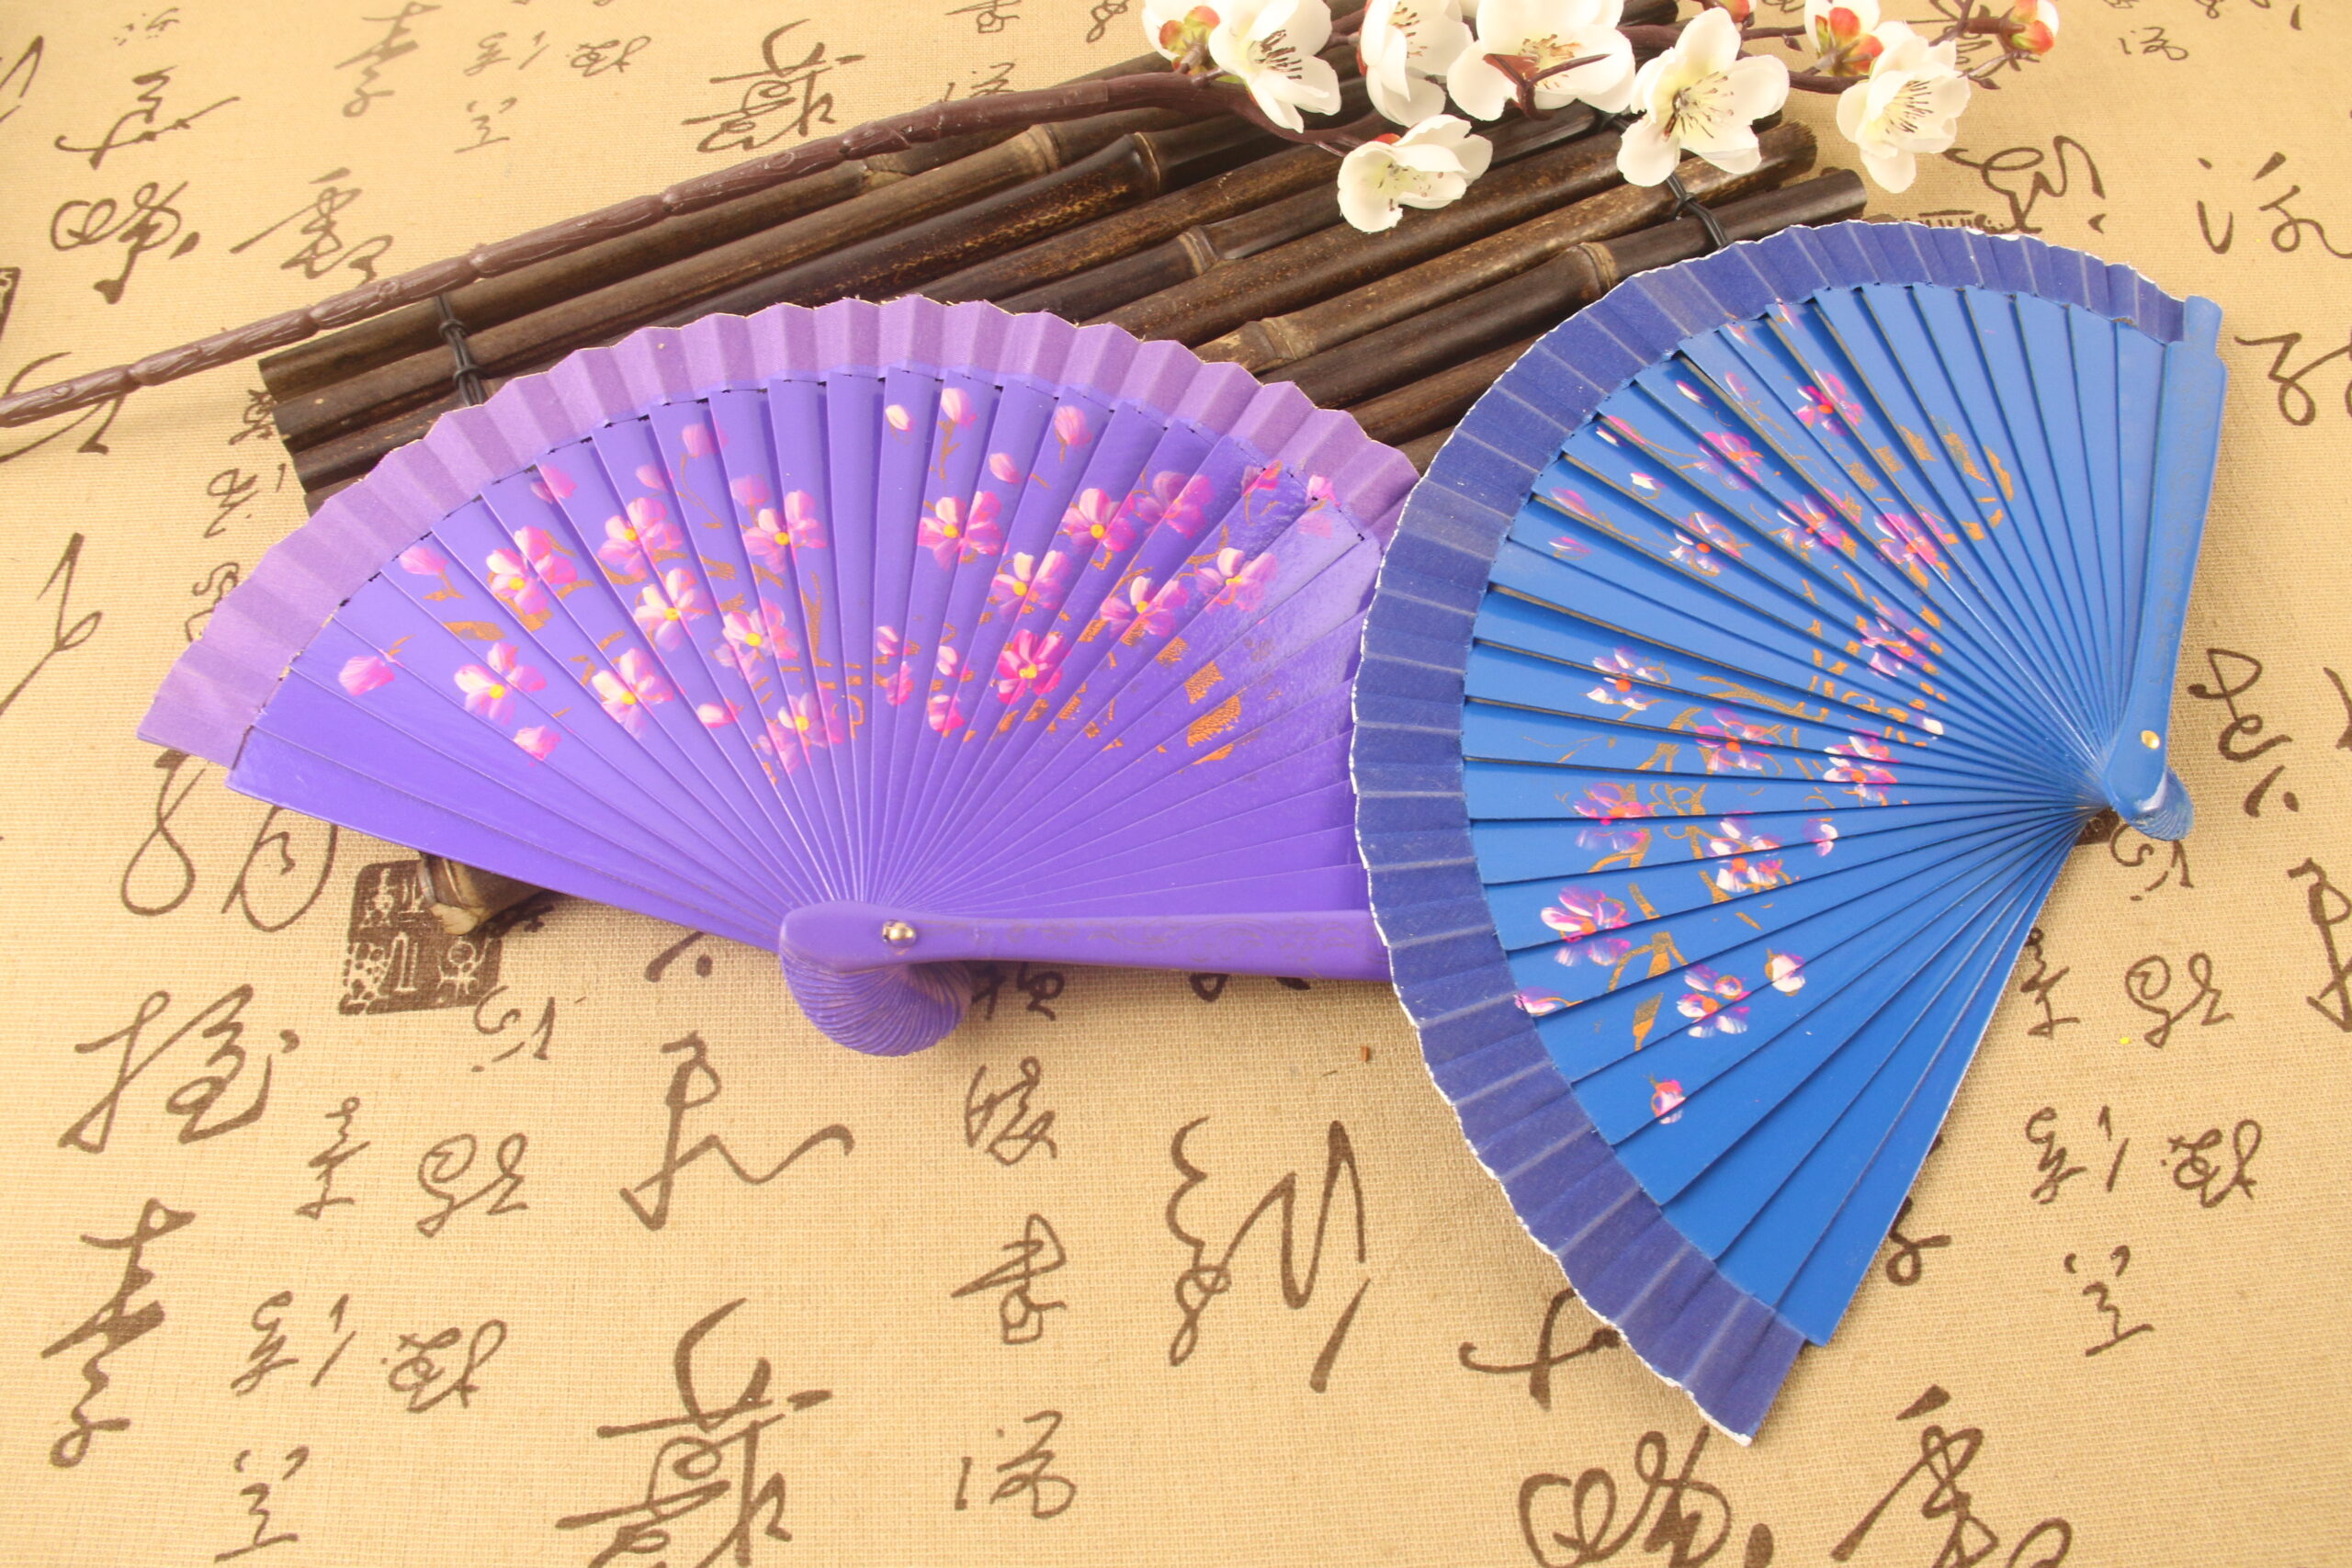
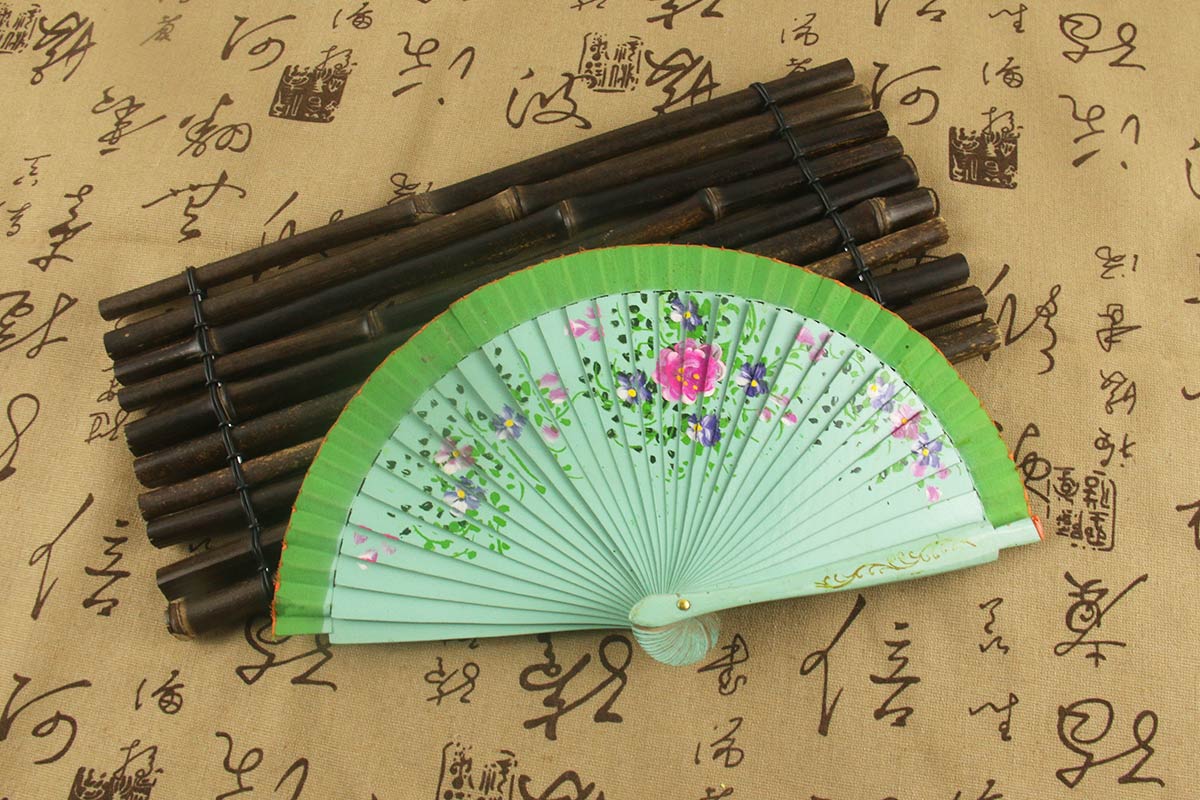
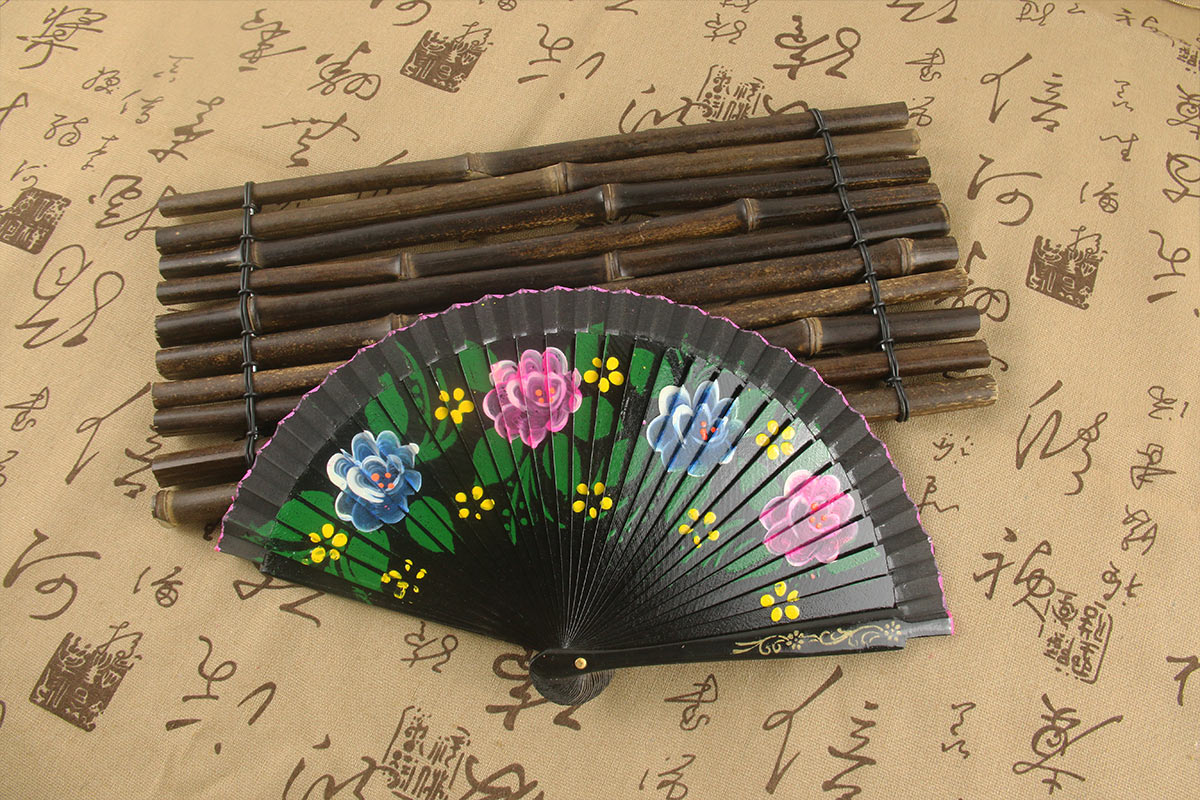
- Fan surface materials: Xuan paper, silk fabric, cotton cloth (plain or patterned designs available)
- Connecting components: Small screws, brass pins, hanging cords, metal rings
- Decorative elements: Paint, ink, appliqués, sequins, silk threads
Tools Required
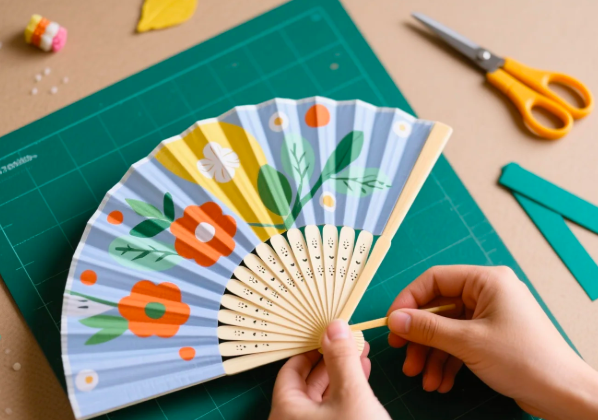
- Scissors, carving knife, hole punch
- Small hammer (for securing screws or pins)
- Glue (suitable for attaching fabric to the frame)
- Brush or fine-tip paintbrush (for creating fan designs)
- Pliers (to secure small hardware components)
DIY Folding Fan Making Process (Detailed Step-by-Step Guide)
Planning and Designing
Before beginning, decide on the overall theme or style of the folding fan:
- Traditional elegance – ink painting, landscapes, classical calligraphy
- Modern aesthetics – abstract patterns, minimalist designs
- Playful and creative – children’s illustrations, cartoon figures
Once the theme is chosen, measure and pre-cut the fan components:
- The fan ribs should be uniform in length to ensure symmetry.
- The fan surface must be trimmed to the correct dimensions, allowing smooth movement when attached.
Crafting the Fan Ribs (Frame Construction)
- Select high-quality bamboo or wood, ensuring the material is sturdy yet lightweight for comfortable handling.
- Use fine sandpaper to polish the ribs, making the edges smooth and splinter-free.
- With a precision hole punch, drill small, evenly spaced holes along the bottom of each rib—this will allow the frame to be securely fastened with screws or pins.
- Arrange the ribs in order and secure them using metal pins, screws, or brass connectors, forming the flexible fan framework.
- Test the movement—each rib should pivot smoothly, ensuring a graceful unfolding motion.
Designing and Attaching the Fan Surface
- Choose an appropriate fan surface material (silk, Xuan paper, or fabric) based on the chosen aesthetic.
- Using a pencil or light brush, sketch the design onto the material:
- Classic themes could include delicate florals, birds, calligraphy, or scenic landscapes.
- Modern or personalized styles could incorporate geometric shapes, abstract motifs, or custom names.
- Once the artwork is complete, allow the paint or ink to fully dry to prevent smudging.
- Trim the material into a precise fan shape, ensuring it aligns perfectly with the ribs when unfolded.
- Using a strong yet thin layer of adhesive, carefully attach the fan surface along the edges of the ribs.
- Press firmly to ensure smooth adhesion while preventing wrinkles.
- Let the glued surface set completely before attempting to open and close the fan.
Adding Decorative Details and Final Touches
- To enhance visual appeal, incorporate decorative elements:
- Silk threads or tassels – Attach to the handle base for a stylish touch.
- Sequins or appliqués – Add subtle embellishments for texture and depth.
- Hand-painted accents – Introduce gold lining, watercolor washes, or detailed edge designs for an intricate finish.
- Once the decorations are complete, inspect the folding mechanism to ensure fluid movement.
- Make final adjustments:
- If the fan surface is too stiff, gently loosen the adhesive near the ribs.
- If certain ribs feel misaligned, adjust the screws slightly for balance.
- Test the fully assembled fan by opening and closing it repeatedly—ensuring a smooth, even motion before finalizing the design.
Important DIY Considerations
- Material Selection: Choose durable wood for the ribs—avoid brittle or excessively thick materials that may restrict movement.
- Glue Application: Use a thin and even layer to prevent excess adhesive from seeping through the fabric or paper.
- Painting Process: Sketch practice drafts before applying paint to ensure precision and even coloring.
- Drilling Fan Rib Holes: Maintain alignment to prevent structural imbalance during assembly.
- Tool Safety: Exercise caution with sharp tools, especially when children are involved—adult supervision is recommended.
Conclusion: A Handmade Folding Fan—A Blend of Culture and Creativity
A DIY folding fan is more than a crafted object—it is a reflection of cultural heritage, artistic expression, and personal sentiment. Whether used as home décor, daily accessories, or heartfelt gifts, a handmade folding fan carries warmth and individuality.
At Craftshistory, we are dedicated to preserving and evolving traditional fan artistry. Exploring the joy of DIY fan-making is an essential first step toward appreciating this timeless craft—embracing creativity while passing down the beauty of Eastern aesthetics.