Learn how to color a hand fan with a step-by-step process: gather materials, prepare the surface, sketch your design, paint, add gradients and details, and finish with a protective varnish.
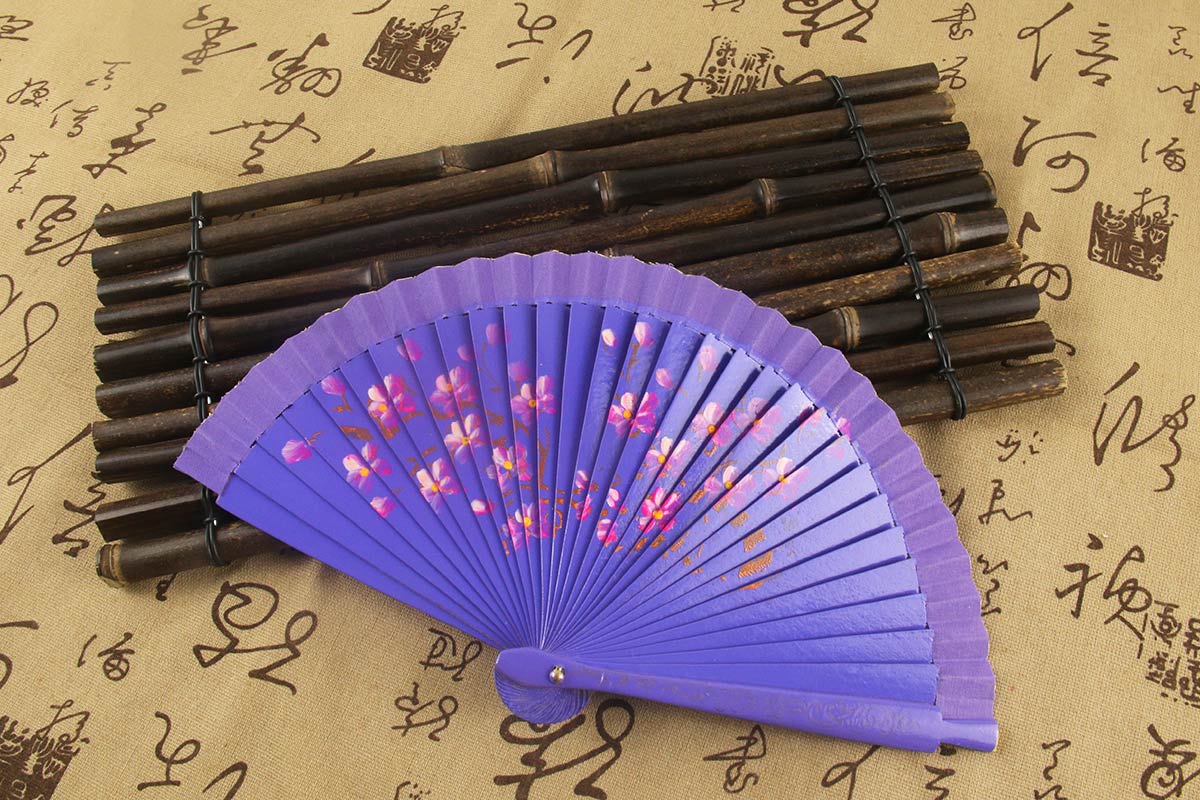
Whether you are making a unique hand-painted wooden fan for yourself or preparing a meaningful gift for someone special, a hand-painted wooden fan is an ideal choice. The process of making a hand-painted wooden fan is not only relaxing and fun, but also brings a full sense of accomplishment. In this article, we will guide you step by step through the entire production process, from preparation to the final details, to help you create a beautiful and personalized hand-painted wooden fan.
How to Color a Hand-Painted Wooden Fan?
1. Prepare Your Materials and Tools
Before you start painting, gather all the necessary materials:

- Wooden Fan: Select a clean, smooth wooden fan, preferably made from hardwood or pine, which is easier to work with.
- Paints: Choose acrylic or watercolor paints. These types of paints offer vibrant colors and work well on wooden surfaces.
- Brushes: Opt for a fine-tipped brush for detailed work and a medium-sized flat brushfor covering larger areas with base colors.
- Palette: For mixing and blending colors.
- Protective Coating: A clear varnish to protectthe painted design and give it a glossy finish.
2. Prepare the Fan Surface
Once you have all the materials ready, it’s time to prepare the hand-painted wooden fan surface. Ensure that the fan is completely clean and smooth. If the wood is rough or has imperfections, use fine-grit sandpaper to smooth it out. Sanding the surface helps the paint adhere better and ensures an even coat, giving the final result a professional and polished look. A smooth surface also prevents paint from clumping or streaking, allowing you to achieve clean and precise lines.
3. Sketch Your Design
Before you apply any paint, lightly sketch your design onto the fan using a pencil. This step allows you to plan your artwork and avoid mistakes while painting. Sketching your design ensures that everything is in place before you start applying paint. A well-thought-out design can elevate the overall look of the fan, making it more visually appealing. Whether it’s floral patterns, scenic landscapes, or abstract designs, taking time to plan will make a significant difference in the final outcome.
4. Start Painting

Now that the surface is prepped and your design is sketched, it’s time to start painting! Begin by applying the background color first, working from light to dark shades. Use a larger brush to fill in the base colors, covering the bigger areas of your design. Once the background is in place, switch to smaller brushes for the more intricate details. If you’re using acrylic paints, be mindful that they dry fast. To prevent unwanted blending, it’s a good idea to work in sections, allowing each area to dry before moving on to the next. This step ensures that your design stays crisp and defined.
5.Add Gradients and Details
To give your fan a more artistic and sophisticated look, experiment with gradients. Gradients—where you blend light and dark colors together—can add depth, dimension, and a sense of movement to your design. For example, you could create a soft transition from light blues to darker shades to depict a sky or ocean. Once you’ve added gradients, turn your attention to the fine details. Use smaller brushes to paint intricate elements like flowers, birds, or other patterns. These small touches will help bring your design to life, giving the fan a delicate and refined finish.
6. Drying and Protective Coating
After you’ve finished painting, it’s important to allow the fan to dry completely. Drying time will depend on the type of paint you used and how thick the layers are, but typically it takes a few hours. Be patient during this stage, as rushing the drying process can cause smudging or incomplete curing of the paint. Once dry, it’s time to apply a layer of clear varnish. This protective coating will help preserve the painted design, prevent fading, and provide a glossy finish that makes the colors pop. The varnish also adds durability, ensuring that the fan will last for many years to come.
7. Final Touches
After the varnish has dried, take a final inspection of your work. Look for any areas that need a little refinement or touch-up. This is the time to smooth out any rough spots or add more detail where necessary. You can also apply a second coat of varnish for extra protection and a higher gloss finish. Once you’re satisfied with your hand-painted fan, it’s ready to be used and admired!
By following the steps above, you will be able to create a one-of-a-kind hand-painted wooden fan that reflects your unique style. However, if you prefer a more convenient method and want the perfect combination of quality and exquisite details, you are welcome to order a beautiful custom hand-painted wooden fan from Craftshistory. Our skilled craftsmen will customize the fan to your specific preferences, ensuring the highest quality and meticulous attention to detail. This way, you can save time and receive a beautiful personalized fan.